

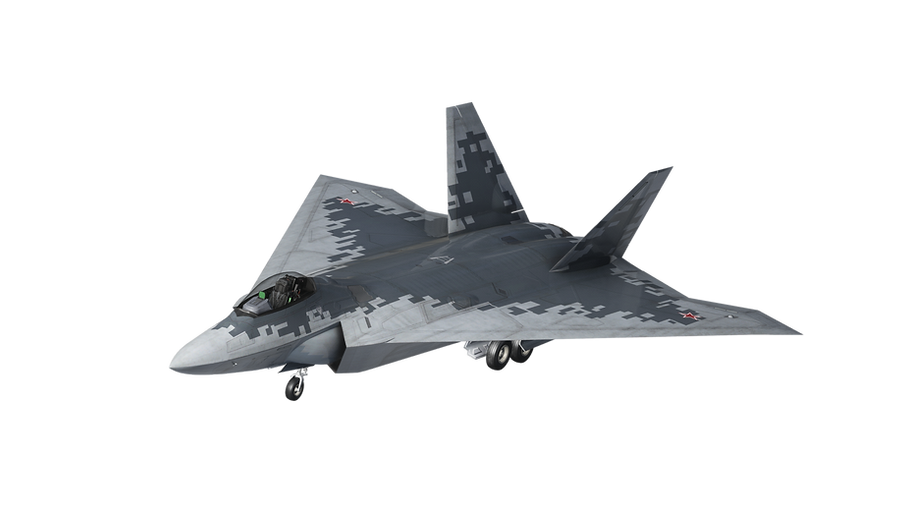
FB-22 Strike Raptor
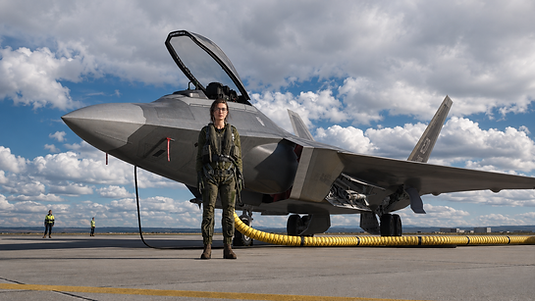
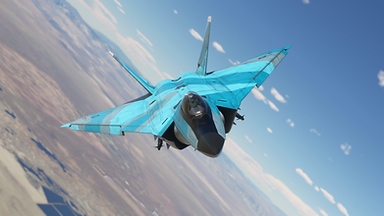
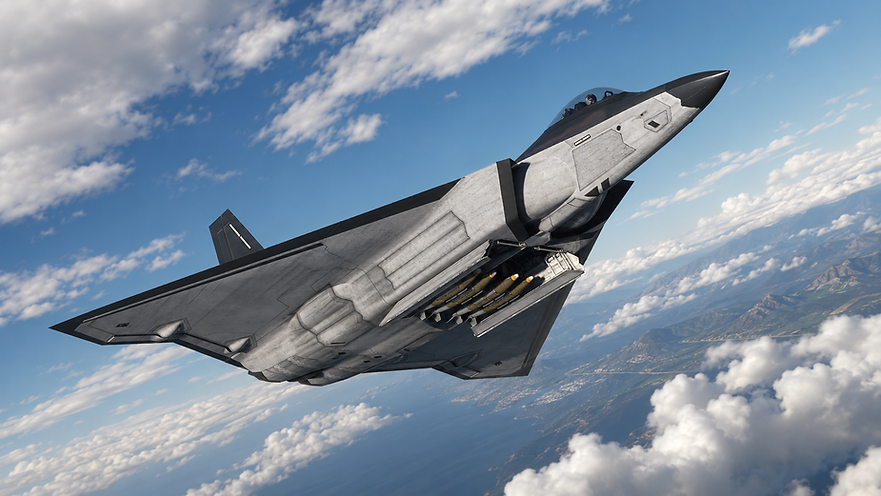
It's time to fly the FB-22 Strike Raptor in Microsoft Flight Simulator! Discover what could have been an iconic stealth fighter-bomber operated by the United States of America, which could have entered service in the 2010s. The aircraft is based on a study model, and its real-life version never went beyond the design phase. The aircraft you will fly is based on the FB-22-2 variant, with a delta wing and a single-pilot seat. There are 15 liveries available, including the celebrated VX-4 Evaluators, as well as SEA camouflage versions and the 66th Aggressor Squadron's multicolor livery. The flight model is intuitive and easy to use, and the cockpit is highly detailed, with its own customized flight systems allowing GPU interaction, Cold & Dark start, and bomb bay opening. You will have AIM-9 and AIM-120 missiles, as well as two types of JDAMs, all aesthetically pleasing, to carry during your flights. Enjoy!


Upon starting on the runway, your aircraft will be ready for flight. When starting from the apron with the engine Cold & Dark, consider pressing the ENGINE START button on the left MFD screen in front of you. Wait 1 minute for both engines to fully start and monitor the EICAS on the MFD itself as engine RPM and temperature increase to the ideal level. Meanwhile, you can experiment with the chocks or the GPU display. The takeoff run should be smooth, and the aircraft will take off without difficulty using the electronic flight management system.
Using the Autopilot is simple, but requires prior guidance: you must click on the desired function before starting to type. Use the ENT buttons to confirm what you've typed or CLR to clear and type again. It's always necessary to click on the desired function before typing. Consider always starting to configure your AP by maintaining altitude, so first press the ALT button and then enter the desired value, and press ENT if the final value has less than 4 digits. Above 5 digits, the value is automatically applied by the AP. Next, set your desired speed or HDG, or even GPS navigation mode. If you want to remove speed control, click the A/T button. Consider using the VS+ and VS- buttons to interact with climb mode.
IMPORTANT: Avoid using Mach control during climbs to avoid constant acceleration and deceleration; During the climb phase, if you want to use A/T, use the normal SPEED control, in knots, and after stabilizing your altitude, change to Mach if you wish.
The radio screen works similarly: click on the frequency type you want to change (COMM 1 or XPNDR) and enter the desired frequency, pressing ENT when finished, or CLR to clear your entry.
The flight model provides that above 300 knots, the speedbrake will automatically engage if the thrust lever is at zero, to facilitate speed reduction at critical moments. The speedbrake will also automatically engage during landing if the parking brake is activated upon touching down. It is still possible to manually engage it at any stage of flight, but under any of the above conditions, its engagement and retraction will be automatic.
Its MDF panel displays local time, landing gear status, navigation light status, and flap status. Upon landing, your speed should be around 190-220 knots, due to the aircraft's delta-shaped design.
The cockpit's Quick View (5) is a fixed camera on the exterior of the aircraft with a HUD, for tactical flight similar to aerial combat games.

EICAS DISPLAY
STARTER
HSI
CANOPY OPEN

ALTITUDE
VS SELECTOR
MACH CHANGE
SPEED HOLD
HDG SELECTOR
RADIO
A/T TURN OFF
GPS NAV
RADIO COMMs
FAQ
There were several reports from users of unusual situations, but with a similar report: it was impossible to control the boat / the boat stalls in a certain direction - this is not a problem linked to the Add-On itself, but a missing setting in the game standard for more experienced simulations. Piloting assistants disable some features that break the mobility of boats in the water and cause situations where users cannot navigate - and unfortunately they end up, without knowing the reason, blaming the Add-On for this. These images show a recommended configuration for navigating with a keyboard, joystick or other external control hardware, bearing in mind that some of these hardware (especially those with a landing gear lever) may present unusual or unexpected situations due to the nature of the hardware - already that it was designed for runways and airplanes. Any questions, unusual or unexpected situations you face, please contact me via email for assistance.


